How to grow butternut squash in small space – have you ever wondered about that?
Butternut squash (Cucurbita moschata) is a species of winter squash that grows on a vine and is known in Australia and New Zealand as butternut pumpkin or gramma. It tastes like a pumpkin and has a sweet, nutty flavor.
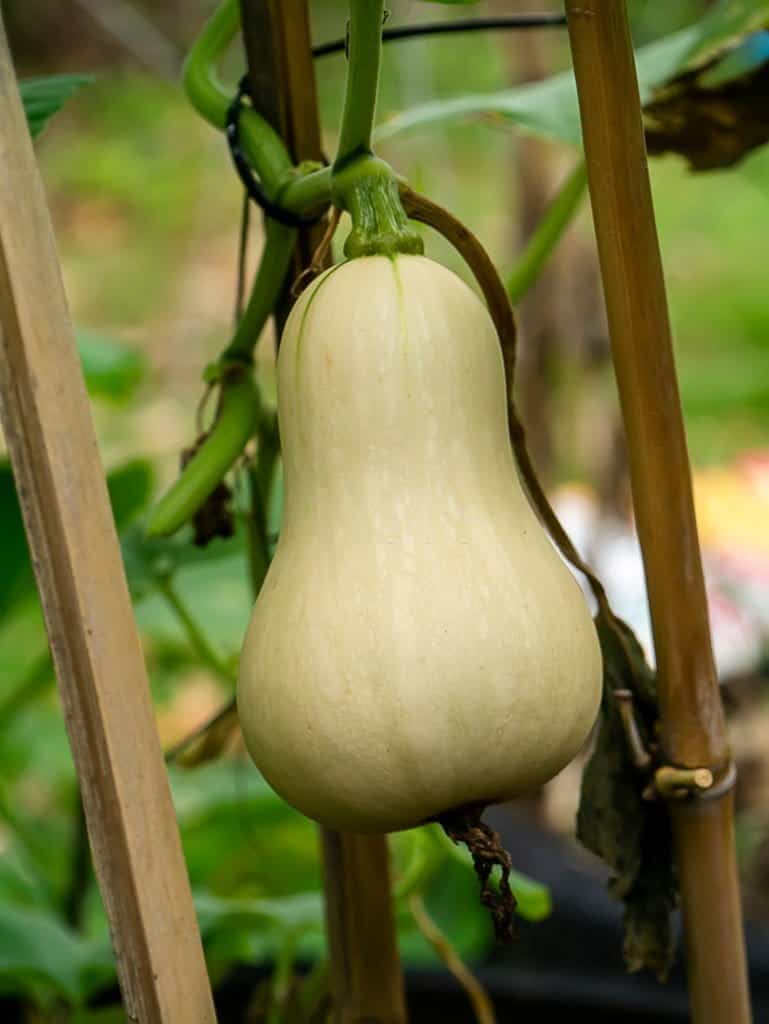
It features a tan-yellow exterior and orange fleshy content, as well as a seed compartment in the blossom end. It becomes sweeter and richer as it ripens, turning a deep orange color. It contains fiber, vitamin C, magnesium, potassium, and vitamin A.
Butternut squash is a vegetable that can be roasted, sautéed, toasted, or puréed for soups such as squash soup, or mashed for casseroles, bread, muffins, and pies, despite the fact that it is botanically a fruit.
You want to cultivate this healthy plant, but you don’t have enough room in your house? Allow us to assist you.
How to grow butternut squash in small space?
Squash may be effectively grown in containers and pots if properly cared for and given the right growing conditions. Furthermore, by planting squash on an overhead trellis, you can save money by allowing them to climb as they like while still harvesting the large squash.
1. Grow in containers
With little space on the terrace, growing butternut squash in a container is a great way to acquire clean vegetables while also making the most of your living space.
The butternut squash has the ability to grow quickly and produce a large number of fruits. So choose a pot with a minimum diameter of 16 inches and a depth of over 10 inches to offer timely nutrients for the plant’s growth.
Butternut squash seeds should be purchased from reputed seed vendors to ensure that you are getting the proper kind and that the seeds have a good germination rate and are free of pests and diseases.

It’s as easy as this to incubate butternut squash seeds: Purchase seeds and soak them in damp water for 2-3 hours to allow the seeds to absorb water and germinate. Then sow directly into the soil container that has been prepared.
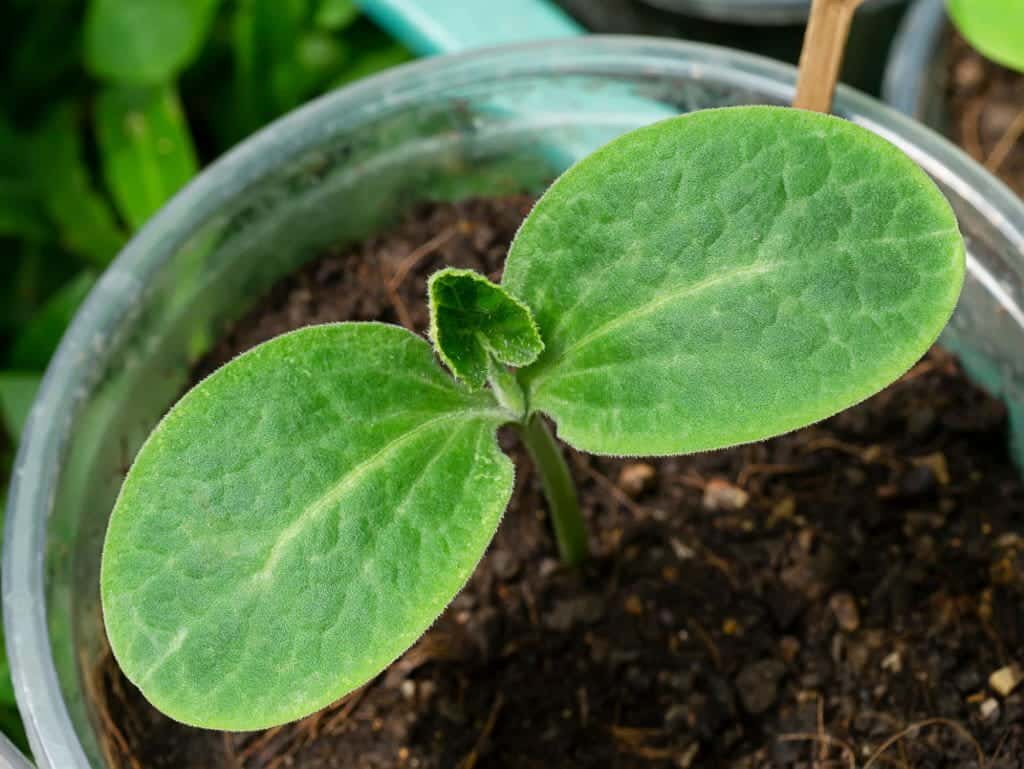
It is vital to keep the soil moist between 70 and 80 percent during the sowing procedure. After 15-20 days, the seedlings have 2-3 leaves and are 3 – 4 inches tall, which is sufficient for growing in a box.
After you’ve planted your butternut squash, you’ll need to water it. Growing in a container with not too much soil necessitates maintaining the container’s humidity for proper growth. It is necessary to keep the soil moist between 70 and 75 percent of the time.
Depending on the weather, water 1-2 times each day. If it rains, don’t water; instead, maintain proper drainage to keep plants from becoming soggy. In hot, dry weather, the number of watering times must be increased to maintain soil moisture.
When it comes to fertilizing butternut squash in containers, the most important nutrients are nitrogen, potassium, and Prosperous (commonly known as NPK in gardening).
The finest organic fertilizer for butternut squash in pots, according to their nutrient requirements, is well-aged compost. Many traditional gardeners have utilized it, and their squash has thrived as a result.
In reality, we can prepare compost tea by storing some well-rotted compost in a water bucket for 1–2 days to make it more appreciative for the plant. It’s an excellent homemade fertilizer for containerized butternut squashes!
The addition of well-aged compost tea aids in the absorption of nutrients by the roots. As a result, you’ll be able to witness the plant grow quickly.
Because squashes are much more hungry than other crops, you may need to fertilize butternut squashes in containers more frequently than other crops in your yard.
Butternut squashes prefer air temperatures between 50 and 90 degrees Fahrenheit during their growing season, regardless of how they are grown.
As a result, they’ve been bred to begin growing in the early spring and to be harvested in the autumn.
Butternut squashes need soil temperatures between 65 and 70 degrees Fahrenheit to flourish.
They needed an average soil temperature of 70 degrees Fahrenheit for their seeds to germinate.
Once the temperature reaches 100 degrees F, butternut squash will ripen its fruits.
To grow, butternut squashes required a lot of direct sunlight throughout the day.
Butternut squash grew best in the broad sun throughout the day. Butternut squash need at least 7 hours of direct sunlight per day to thrive. The plant should be placed in an open area that receives direct sunshine without being shaded.
2. Grow butternut squash vines vertically
Squash vines give arbors, porch posts, and foundation trellises, as well as large containers with robust construction, an unexpectedly luxuriant aspect.
Work a spadeful of compost or well-rotted manure into the soil for each squash plant you want to grow.
Build a tee-pee out of at least three bamboo poles connected together at the top, or hammer 6- to 8-foot-tall garden stakes into the dirt for vines to climb.

The only labor you’ll have to do is tie the vines through the lattice or around the posts as they develop on gazebos and trellises that have latticed sides or robust posts on which to grow vines.
If you’re growing squash on a flat surface, such as a foundation wall or solid fence, nail chicken wire to the surface so the vines may be linked to it as they grow. Before planting squash seeds, make sure the support system is in place.
Plant seeds 1 inch deep in the soil or 1 inch above the earth’s surface and cover with 1 inch of topsoil. Sow three to four seeds per large container or three to four square feet per garden. Plant seeds only after all dangers of frost have passed.
Remove the remaining seedlings gently after selecting the strongest-looking seedling from the group of three or four. Seedlings should be thinned to one plant per container or one to two plants per 5 to the 6-square-foot garden.
Mulch squash seedlings with a 3-inch layer of mulch. Around the base of each plant, leave a 2- to 3-inch circle of bare dirt. Mulch keeps weeds at bay and keeps mud from spilling onto the undersides of vertical vines as they ascend.
If insect pests are a problem in your region, cover the soil with floating fabric. Cut cloth squares or circles to fit your bed or container, then anchor them to the ground with pebbles or posts. The floating cloth allows light and water to reach the immature squash plants while keeping insects like the squash borer away from the seedlings.
When the squash vines begin to bloom, remove the floating fabric. Pollinating insects can now access the plants.
Join the vine to the support structure with a simple loop or figure-8 made from garden twine or old pantyhose strips. Tightly tying the vines will cause them to break. Begin tying the vines to the support as soon as they reach it, and continue connecting them to the support as they grow.
When the squash vines are fully grown, cut them approximately 2 inches above the fruit with a sharp knife or pruners. To avoid spoiling, keep them in a cool, dry place.
Summer squash should be harvested when they reach their ideal size, which is usually no more than 6 inches long, throughout the growing season. Winter squash takes a long time to grow.
When the winter squash fruits have reached their optimal size, which varies depending on the variety, removes them.
Pests and Diseases that Affect Squash Plants
Squash in containers and pots is very simple to grow, but you may have to contend with pests and diseases along the way. By ensuring that your soil is rich in organic material, that your plants have adequate air circulation, and that you water your plants properly, you may naturally ward off illness and pests.
When it comes to pests and illnesses, it’s critical to keep an eye on your plants and respond quickly if you notice any symptoms of harm.
Cucumber Beetles and Squash Vine Borers: Squash Vine Borers and Cucumber Beetles are squash and zucchini plants’ worst enemies. Keep a watch out for visible bugs and vine damage. If they get the opportunity to dig into your vines, your plants may perish completely.
Final thoughts
Butternut squash is a nutrient-dense plant that is very simple to grow, especially in small spaces. We assisted you in determining how to cultivate butternut squash in a short space. I hope you can put those tips to use in your garden.