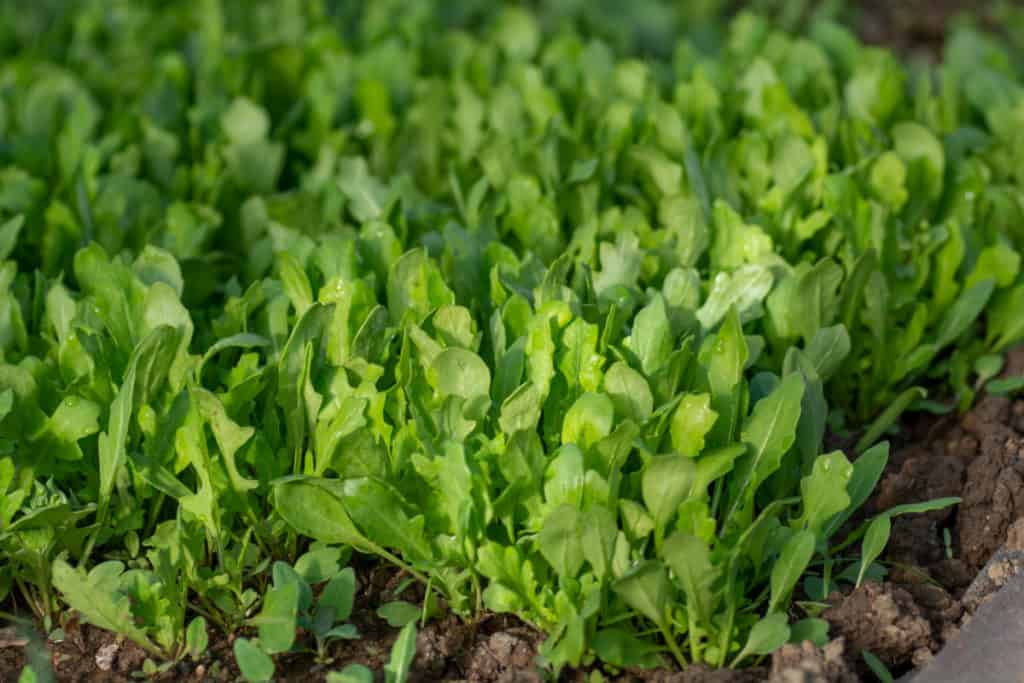
Arugula is famous for being a nutrient-rich and flavorful vegetable in many recipes. Plants are effective in preventing cardiovascular diseases, and cancer and maintaining body shape, so many people regularly use them in meals such as salads or as spices in many other dishes.
Arugula is a plant that prefers cool temperatures because it is native to the Mediterranean region, so it is often planted in early spring or late fall. However, you can grow Arugula indoors in any season as long as you meet the ideal living conditions for this vegetable. How to grow arugula indoors? Join us to learn about the steps and important notes in this article.
Contents
How To Grow Arugula Indoors?
To grow Arugula indoors most effectively, you need to pay attention to seed quality, habitat, watering, and sunlight. You should choose Arugula types such as astro, slowbolt, and heirloom to grow indoors. Join us to learn about things to note when growing Arugula indoors below.
Requirements for seed quality, Habitat and watering
- You should choose flat and shallow containers because Arugula’s roots are not too deep.
- The ideal container size is at least 4 inches deep and 4 to 6 inches in diameter.
- You should not use potting soil or garden soil to grow Arugula indoors. Instead, an Arugula seeding mix is more suitable.
- Fill the container with about 3 to 4 inches of moist soil, then you sow the Arugula seeds one at a time with a distance of 1 inch between them.
- Gently and carefully cover the Arugula seeds with a layer of seed starting mix.
- Place a water tray under the container to catch excess water and avoid staining your floors or countertops.
- To ensure moisture for Arugula seeds to germinate in the coming days, you can cover the container or use a plastic bag to surround it.
- Mist or water to keep the soil moist to create favorable conditions for seeds to germinate. However, you should not leave the soil too sticky or excess water on the surface as the seeds may rot.
- Check the seeds and soil moisture every day until they have germinated and you can remove the plastic covering.
- If the spacing between saplings is too thick, you will need to prune them to keep the spacing between saplings at 1 inch.
- You will start feeding them with fertilizer when the plants are about 4-6 inches tall. You can use 10-10-10 liquid fertilizers diluted with water as recommended on the product packaging.
- Fertilize your plants with a nutrient and water mixture every two weeks to stimulate the growth of new leaves.
Requirements For Lighting
Arugula plants will grow best if they receive at least 6 hours of direct sunlight per day. Therefore, you need to choose the appropriate location to place the potted plant. A location near a south-facing window will provide warm sunlight in the morning and shade in the afternoon.
You should not place the Arugula seed container in a location with strong winds, hot heat sources, or at risk of animal and insect attack. If the area you live in does not have enough natural sunlight, you can use lamps to provide light for plants. They can still grow quickly and healthily under artificial light conditions.
Most types of LED and fluorescent lights can provide enough light for Arugula. You should use LED lights with a color spectrum of 5000K. However, LED lights with a brightness of 4000K can still help Arugula grow quickly and productively.
Arugula harvest time is from 45 to 60 days from the time the young leaves appear. Arugula will also produce small yellow or cream flowers once they are mature. Therefore, if you want to decorate your salad with small flowers, you should consider the time to harvest.
How To Extend Arugula Harvest Time?
To extend Arugula harvest time, you need to prune the leaves from bottom to top, maintain cool temperatures, and fertilize to encourage new leaves to continue growing. Arugula plants are annual plants, so they will produce leaves, flowers, and fruits and finish their life cycle. However, Arugula plants will continue to grow after you have partially harvested the leaves. So you can enjoy the delicious taste of Arugula for a longer period of time.
Prune the leaves from bottom to top: Start harvesting the bottom and darker leaves to enjoy. You will then prune the leaves in the next layer until the Arugula has flowered and produced seeds. In addition, you can also pinch off the top to stimulate new branches and new leaves to grow.
Maintain cool temperatures: Maintain ideal living conditions to prevent plant leaves from aging or changing color quickly. Cool conditions also help maintain Arugula’s delicious and distinctive flavor. Don’t leave Arugula in a location with too much sunlight because its leaves will burn and affect harvest yield.
Fertilize to encourage new leaves: To prolong the harvest time of Arugula vegetables, you need to supplement the soil with adequate nutrients with fertilizers or organic fertilizers. Plants will only grow strongly when they receive enough nutrients, water, and sunlight.
Conclude
Arugula is an indispensable seasoning in many salads and bread recipes. This vegetable is typically grown outside during the cool season, but you can grow Arugula in containers indoors anytime. You just need to meet their living environment conditions.
Arugula prefers moist soil, cool temperatures, at least 6 hours of light per day, and soil rich in nutrients. You can use a container with drainage holes and start the seeds. Ensure enough moisture for Arugula seeds by covering the container or using plastic to wrap around the container. To prolong the harvest time of Arugula, you should prune the lower leaves and add nutrients to stimulate new leaves to grow. Wishing you success in growing Arugula!