Celeriac is a cool-season biennial, though this is usually grown as annual crops, with similar growth habits and requirements as celery does. The main difference is that celeriac is slightly easier to grow and store. And just like how you can plant celery from its cuttings, you can do the same with celeriac!
But how can you begin growing celeriac from cuttings and making sure you reap a good harvest? Read on as I show you how!

Contents
Growing Celeriac From Cuttings
If you’re not familiar with it yet, celeriac is usually grown because of the large and swollen root, looking like a turnip. The root will develop at soil levels like turnips, though this plant is part of the celery family. From its root, there will be a rosette of dark green leaves sprouting on top of hollow stems.
These are actually underrated vegetables, with them being outshined over the popular celery vegetable! However, these are quite tasty despite its odd-looking appearance, and worth planting for future dishes.
As mentioned, celeriac is similar to celery, so you can take its scraps and cuttings to use for regrowing and planting again. Regrowing them is quite similar to celery, actually!
Instead of using the bottoms, as you would with celery, you’ll need to use the tops of celeriac instead. This will have you plant it well to grow greens. After that, plant as you normally would with celery or celeriac.
Follow these tips:
1. Start Indoors
I recommend growing your celeriac tops indoors from the windowsill, especially when you’re trying to grow them during the summer season, or if you live in hotter zones. You can then move them outdoors late in the summer as the weather begins to cool.
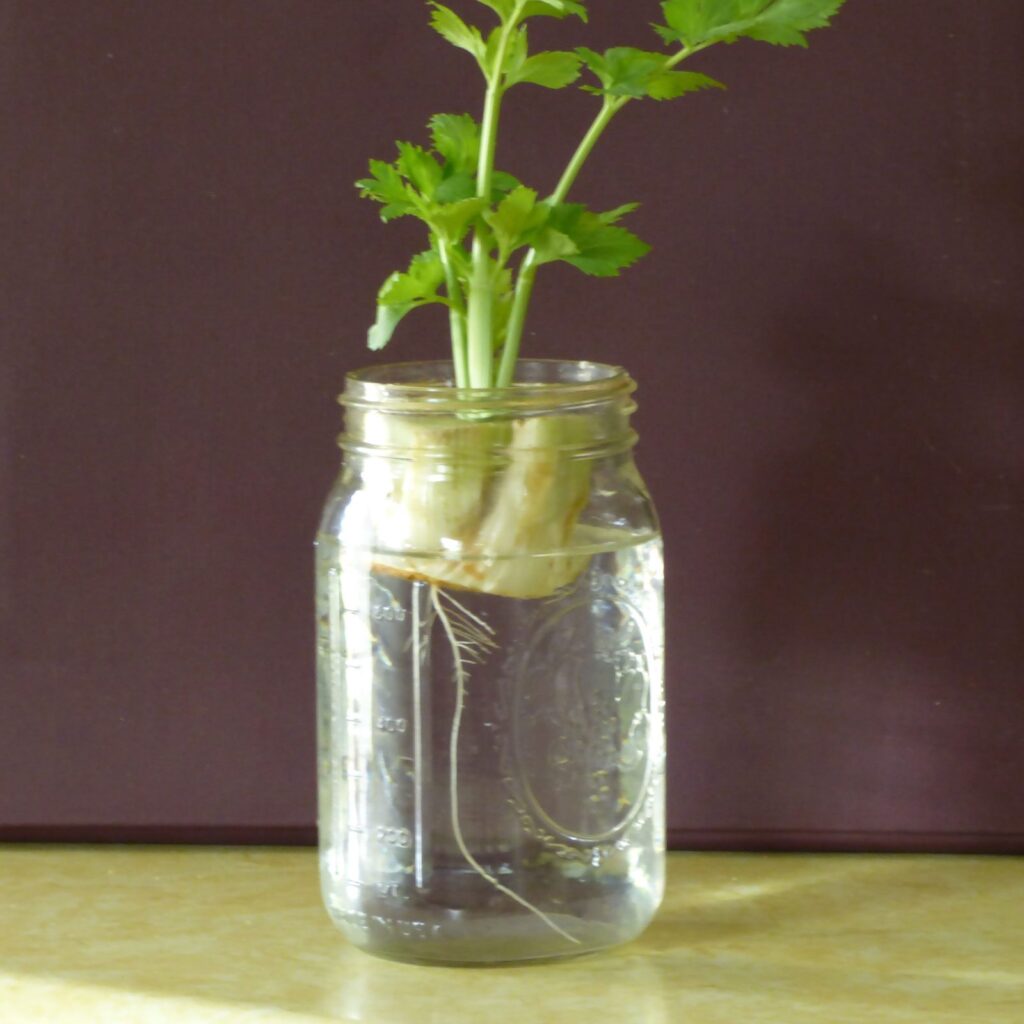
To begin growing celeriac, cut its top and place it in a jar, filling it up with water about partway. Then, place the jar by a window that received good sunlight. In time, you’ll begin seeing small roots forming, as well as green stalks slowly appearing.
Once you see this, do start either placing some soil in the jar or to transfer the plant to the garden, if the weather permits.
For those using pots for planting celery bottoms, fill them to about an inch from the top using potting soil, pushing the celeriac top down to the soil.
When moving it to the garden, make sure to mix compost with the soil before planting it, as well as placing it in the cooler area of the garden. If you have multiple plants, set the celeriac about 6-10 inches apart in rows, spread around 12 inches apart. Pat the soil around the plants’ bases and water it in properly.
2. What Resources Do They Need?
Again, celeriac is very much like celery. Here are the basic requirements to ensure that it grows healthily for good harvesting:
- Celeriac would grow best in full sun, though it tolerates light shade, as long as the soil is cool. The soil should be moisture-retentive and well-drained, so I recommend adding aged compost to the planting beds before placing the plants. Repeat this during the midseason, as celeriac is a heavy feeder and requires some side dressing of compost tea every 2-3 weeks throughout its growing season.
- These plants work best in cooler weather, particularly during cool nights, so grow them during the spring in cold-winter regions. When living in warm-winter regions, grow them during the late summer for it to mature during the cool weather. Take note that it will take time for it to grow until harvest time, so be patient and monitor them daily!
- For water and feeding celeriac, they are shallow-rooted, thus requiring regular watering. With no soil moisture, it can cause the plants to stop growing, so make sure that you keep the top inches of soil moist.
- The celeriac planting beds need to be weed-free to prevent any competition for nutrients and water. Furthermore, cultivate the soil and plants carefully to avoid touching the plants’ shallow roots. I recommend blanching the bulbous roots once it develops for better taste and color.
3. Harvesting Celeriac

You will know when celeriac is ready to harvest once the hypocotyl is around 4-5 inches in circumference. Or, you can even wait until after the first frost, as the cold temperatures may turn some of the hypocotyl’s starch to sugar, which would improve its taste.
Harvesting celeriac is easy since you only need to hold the stalks and pull the plants out of the soil, including its roots. Then, you can regrow it using the celeriac tops again and repeat the planting process.
After harvesting, cut off the foliage, leaving around one inch and trimming the roots to one inch as well. Then gently brush the soil from your hypocotyl, just don’t wash it off. Place them in a mesh bag or plastic bag.
Celeriac is a great vegetable because you can store it for the long-term. Make sure to store it in areas with temperatures between 35-40 degrees F with higher humidity levels. You can store it in a bag in a root cellar or crisper in the fridge, which can last between 6-8 months.
Do you want to learn more about growing celeriac from cuttings? Check out this informative video for further help and advice:
Wrapping It Up
Growing celeriac from cuttings doesn’t need to be so difficult, as long as you provide the right resources and nutrients. You’ll be able to get a lot of celeriac to harvest and use in no time, while you improve your green thumb! All it takes is celeriac cuttings and good soil to get started.
I hope that this article showed you how to begin growing celeriac from cuttings easily! Don’t wait any longer and begin to learn more about celeriac and other vegetables you can plant from cuttings now.
Hello, thank you for this very informative post. I was wondering if you can still grow them if the celeriac doesn’t have the greens attached anymore.
Tracy