Beet is one of those cool season root-vegetables which frequent many kitchen gardens because of how easy it is to plant. It’s also versatile both in planting and eating. However, can you replant thinned beets? This is the question we aim to answer here today.
If you love these veggies, you might have realized that they come in quite a number of varieties, meaning that there’s more to know about this round and succulent vegetable. No matter the type you go for, there are factors that remain constant for them to grow properly and that is, patience because of how slow their maturity rates are.
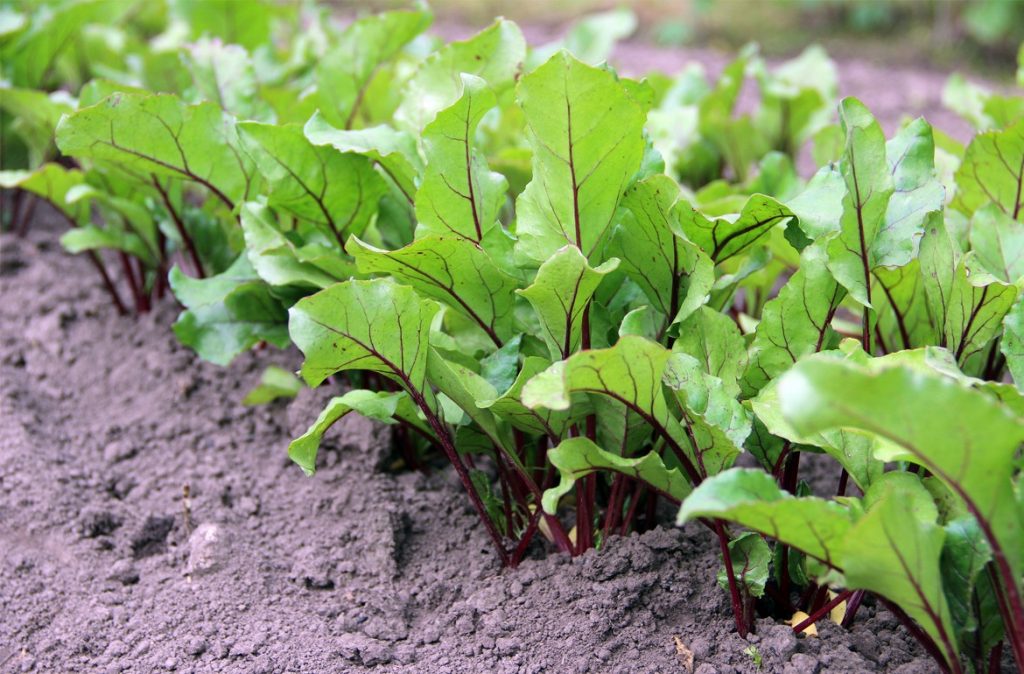
The wait begins right from germination, but then afterwards the magic happens. A single piece of beetroot seed has several seeds inside and that’s why germination reveals a large, lumpy and bumpy structure. Now for proper root development, it’s important to thin out the extra structures so that they remain spaced enough.
I’ve seen a number of people discard the thinned plants, when actually you can replant or transplant them so that you double your produce. Having known that you can replant thinned beets, the next step is figuring how best to hack this, so that your efforts don’t go unrewarded.
Contents
Can You Replant Thinned Beets? And How To Thin
In order to have thinned seedlings, you must first of all thin them. But even before you do that, can you replant thinned beets? What is the importance of thinning in the first place?
Clearly, thinning is key not only for the root development, but also for maximized crop production. But as you create the space needed, remember to do it right so that you don’t also ruin the plants that you’ll be leaving behind after thinning.
That would actually be a double loss, and the main aim here is to double the produce and not ruin everything.
Here are a few tips which you can try out the next time you plan on planting beets:
Use the right method
When it comes to thinning, there are a number of ways to go about the moving, depending on what you want to do with the thinned options afterwards. You can either use a pair of scissors to cut the selected seedlings; a shovel or spoon to dig them out; or pull them out with your hands. When you use scissors, you won’t get roots required for replanting, so it’s not advisable in our case.
Hand pulling can also get the whole clump out with which you’ll have double replanting to do. But when carefully executed, it helps in getting the seedling right from the roots such that nothing will be left out. The process can also be made easier if you soak the soil around the mass before thinning because with that the seedlings will separate with ease.
Seal the soil around the roots
Once you have achieved the recommended space between the beets, ensure that the soil around the roots of the separated seedlings is intact and that the stem and leaves are in shape. Now, something to mention is that if you’re considering replanting, remember to do it right after thinning because leaving the thinned seedlings lying around for a number of days will fasten the drying process. This means that you replanting them after that might be in vain.
Step-step Guide on How to Replant Thinned Beets
First of all, beets should be replanted only when they have developed four leaves, that is, two smaller inner ones and two large ones on the outside. At this stage, the plants will be about 2 inches tall. Once that’s certain, follow the steps outlined below.
1. Prepare planting holes.
Dig holes that are 3 inches deep and the number to dig should depend on the number of plants you have thinned, considering that each of them go to separate holes.
2. Transplant the beets
Place the beets in the holes and be careful not to mishandle the leaves which are equally fragile at this stage. The moment any part becomes twisted especially the roots, your plants will not grow as desired. Therefore, see to it that the roots are properly-aligned and that the leaves are placed above the ground.
3. Cover the planting hole and water the beets.
After that, firmly press that soil around the root inwards to make them more stable then water them adequately.
What You Need To Be Aware About
Apart from misalignment, another thing that might deter your plants from growing perfectly after replanting is the re-plant shock. To keep them growing, you can give them a boost with an all-purpose fertilizer which works best when diluted so that it gets absorbed quickly.
Unlike the rest which already have their roots secured in the ground, freshly replanted beets need thorough watering every single morning until you’re certain that they have become established.
Another thing to remember is that replanting is best done when the weather is dull so that the plants don’t end up drying. However, if you must re-plant on a sunny day, you can as well cover the thinned plants with newspaper or paper towels for the rest of the day.
Do you want to know more regarding replanting thinned beets? Here is a video that you can check out:
Conclusion
Just as the germination process takes time, replanted seedlings equally require a number of days before they get back to life. You might realize that even as you water during the first days, the leaves might go yellow or start dropping but then after some time, the growth will pick, creating room for new leaves to sprout up.
At the same time, re-growth will only happen if you water re-planted seedlings regularly, and of course the right way. So, can you replant thinned beets, the answer is simple: Yes, but do it correctly if you want to get the best results.