Is growing black eyed peas in a container possible?
The answer is a big YES. In fact, you can start your very own container garden with black eyed peas cheaply and easily.
By growing your own food, you can be sure that you are feeding your body with healthy and nutritious food. Moreover, it can help cut down costs on food, which makes it practical to do nowadays.
So, if you are wondering how to start planting black eyed peas in a container, here are tips you need to know. I’ll teach you the basics such as materials needed, techniques, and expert advice to give you great yields and a big return on your time and money. Let’s get right into it!
Contents
Benefits of Growing Black Eyed Peas in a Container
Some people who live in a small space or without any yard assume that it’s not possible for them to grow their own food.
I will debunk this myth by saying that growing black eyed peas in a container – among a few other vegetables you can grow – is ultimately doable and attainable.
In fact, you can easily make this happen with just a few basic materials. Furthermore, it’s not as challenging as you think it is.
But before we proceed to the techniques, let’s start with the whys – why should you grow black eyed peas, anyway?
First of all, black eyed peas are nutritious legumes. They are excellent sources of protein and fiber, which help strengthen the gut.
Legumes are also rich in B vitamins. This is why if you are not getting enough of these vitamins, a quick and easy way to do it is by consuming black eyed peas daily.
In addition to the nutrients, there are many ways for you to cook black eyed peas. You can add black eyed peas to your soup, stew, salad, stir-fry, and even in a pizza! These tasty and nutrient-packed legumes indeed make your meals more exciting and filling.
And lastly, by growing black eyed peas, you don’t have to buy them anymore. You can save money, get the nutrients you need, and make sure you are feeding yourself and your family right.
Growing Black Eyed Peas in a Container – Expert Tips and Advice
Black eyed peas are annual plants. This means that they mature and produce in a single season.
The best place to plant your black eyed peas is in an area that gets full sun. They thrive in this type of condition and generate an outstanding yield.
However, if you put them in a very hot area, be sure to provide extra water. Otherwise, the plant will dry out because of too much dryness.
Depending on the black eyed pea variety, your crop may be tall or a little on the short side. For the most part, vining varieties are quite robust. They can grow as tall as 6 feet without any issue.
On the other hand, bush types do not grow any taller than 3 feet. However, these can spread wide up to 5 feet.
Types of Black Eyed Peas
There are different types of black eyed peas with varied qualities. Here are the most common ones.
- California Blackeye – it comes with a number of strains but the typical characteristic is the color of the “eye” It is close to brown or purple instead of black.
- Big Boy Blackeye – this type of black eyed pea is a bush variety. It does not grow tall but can be quite expansive.
- Queen Anne – this variety is a vine, which requires more vertical space.
How to Grow Black Eyed Peas in a Container
Most beginners make a mistake of putting their crops at the wrong place and in an unfavorable condition. By following these simple tips, you can prevent these common mistakes and guarantee success in your crops’ growth and development.
1. Ensure the right planting condition.
This is very important when growing black eyed peas in a container. The rule of thumb is to plant only when the soil is warm. Otherwise, planting in cold or damp soil will lead to rotting of the seeds.
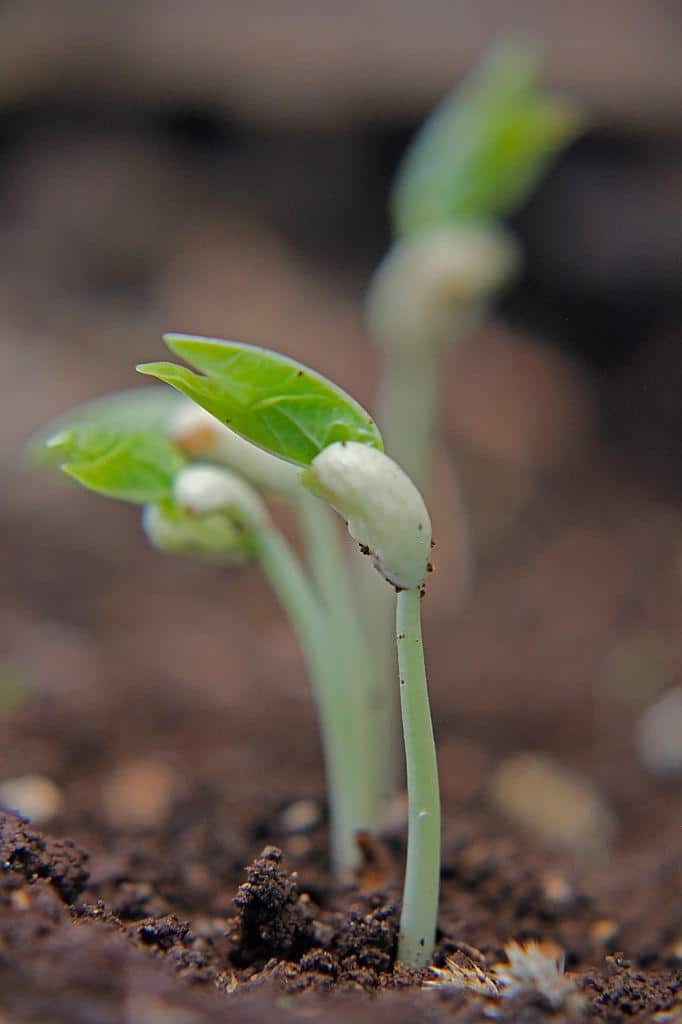
2. Begin indoors.
It is important to start indoors when growing your seedlings. This can take up to 6 weeks, so be patient. By starting indoors, you will be able to control the temperature and prevent harsh external elements from wreaking havoc to your crops.
3. Transplant properly.
Black eyed peas are not the easiest to transplant. Thus, you should use a peat pot that will prevent you from disturbing the roots. The best time to transplant your crops outdoors is when the soil is relatively warm or 60 degrees Fahrenheit or so.
4. Choose the right soil.
I recommend using well-draining soil for your crops. Check the acidity level, which should be able 5.8 to 7 pH level. You may also add organic matter prior to planting to enhance the drainage and boost growth.
5. Sow your seeds well.
Be sure to sow the seeds directly in the soil. The ideal depth is an inch deep. You should also keep at least 2 inches of space between seeds (for bush type black eyed peas).
Additional Tips on Growing Black Eyed Peas
You should be able to grow bush varieties in a container without any problem. However, do keep in mind that the yield won’t be as great as when you plant them on the ground.
As for harvesting, it usually takes about 100 days when you want them to turn into dried beans. You will have to leave them on the vines, so they can dry completely.
However, harvesting your crops like snap beans should be earlier at 70 days. This is usually the time when the pods reach a length of 3 to 4 inches.
Lastly, be sure to water your crops regularly. When you see flowers starting to appear, your plants would need more water. Water the soil instead of the leaves. If you keep the leaves moist all the time, this can result in fungal disease.
Here is a video that shows you how to grow black eyed peas from seeds in a container. Check it out:
Bottom Line
Growing black eyed peas in a container is a simple and easy thing to do. I hope that after learning more about the basics of how it’s done, you’re now more confident about starting your crops. So, get your materials ready, follow these tips, and plant your own food!